.png)
||
Laura Lancaster
We may earn revenue from the products available on this page and participate in affiliate programs. Learn More ›
It’s easy to be overwhelmed by the sheer number of hiking jackets available. Searching for one on REI’s website alone yields over 700 results. But there’s good news: If you can nail how to layer for hiking, you’ll only need three jackets to handle everything from arctics blasts in the alpine to rainstorms to desert winds. The trick is to think of your jackets as layers.
What is Layering?
When picking out one of the best hiking jackets, especially for the first time, the temptation is to find something that can handle it all: rain, cold, snow, wind. But it’s unlikely that you’re going to encounter only two sets of weather conditions—t-shirt or type II—over the course of your hiking career. After all, the reason there is such a range of jackets available is that there is a wide range of conditions that can occur. Simply put, the jacket that will keep you warm at the base of your hike isn’t the same one that will keep you warm at the summit. You need something more versatile.
With layering, each jacket is assigned one job: wick sweat, maximize warmth, or block the outside elements. Here’s how it works.
Base Layer
Your base layer is the foundation of your layering system, and its primary function is to regulate your body temperature. It can be made from a synthetic (like CoolMax) or natural fiber (like merino wool), so long as it can move moisture (usually sweat) away from your body—a process known as wicking. The base layer is the first item you grab when temperatures start to drop, and the layer you pull on before tough uphill climbs in the early morning. How to layer for hiking starts with a good base layer. It will ensure you stay dry and warm while working up a sweat, so that moisture doesn’t turn into a dangerous chill when you stop for a break.

Base layers come in a variety of weights, from thin and cooling to thicker weaves that maximize body heat retention. You should choose a heavier base layer if you anticipate being out in colder climes, but remember that your base layer isn’t there to keep you warm. It’s there to keep your skin dry by promoting moisture evaporation. Keeping warm is what your next layer is for.
Read Next: The Best Base Layers for Hunting
Insulating Layer
Your insulating layer has one job: to keep you warm. It doesn’t need to wick, and it doesn’t need to be waterproof. Most insulating layers are made out of goose (and sometimes duck) down or a synthetic equivalent looking to maximize the properties of goose down. Let’s look at the pros and cons of each.

Down, the feathers that are closest to a goose’s body, are typically rated by their ability to provide warmth for weight, known as “fill power.” It works by trapping hot air inside the wispy filaments attached to the feather’s shaft. But not all down is created equal; some have long filaments that can trap more hot air, known as “loft,” than others. To measure down’s loft, 30 grams of dry, warm down is placed in a cylindrical tube. Higher loft down will fill a greater volume: 600 cubic inches versus 900 cubic inches, say. The difference in the volume reflects the amount of warm air that has been captured by the down. While there are plenty of insulating layers advertising high fill power rates, that’s really only half the equation. You also want to look at the fill weight, the amount of that fill that is in a given product. Unfortunately, this figure is not as widely reported as fill power. A puffer jacket that is boasting 850fp but only has 1.5 ounces of fill is going to be less warm than a 650fp puffer jacket with 3 ounces of fill.
The Achilles heel of down feathers has always been moisture—when down gets wet, the pockets of air disappear, eliminating virtually all of its insulating properties. Fortunately, the down in many of the best puffer jackets today is treated to retain its loft even when soaked with water. Down treated to withstand moisture is often called Downtek or DownDefender, but there are other names as well.
Before water-resistant down came along, synthetic fills were often the material of choice for anyone who spent a lot of time in the soggier parts of the country. But as water-resistant down came onto the scene, the pendulum started to shift. Today, the primary purpose of synthetic down is as a cost-saving mechanism. While it has nowhere the fill power potential of down, it is significantly cheaper.
Read Next: The Best Puffer Jackets
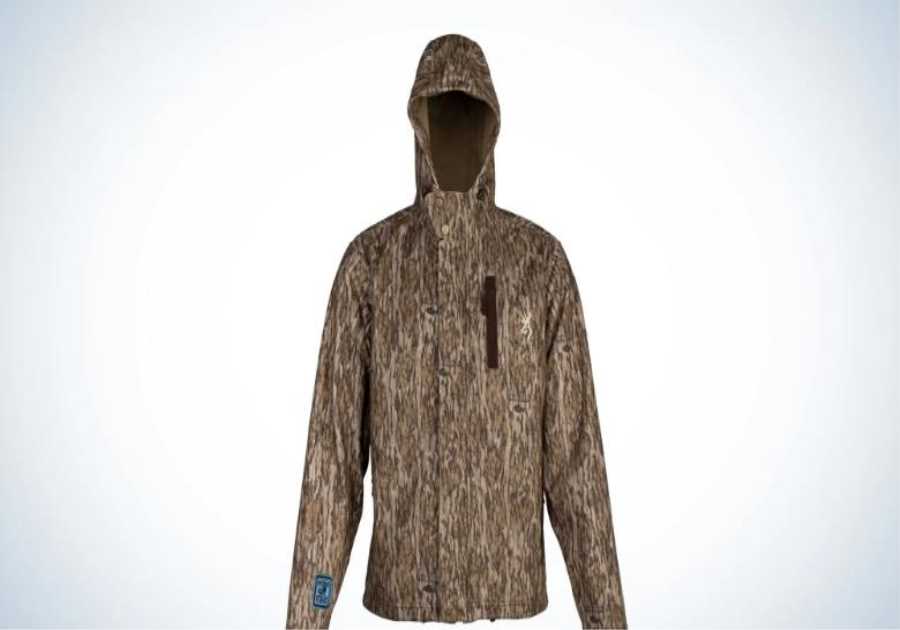
Shell Layer
Wind, rain, sleet—Your shell layer protects your base layer and insulation layer from the outside elements. Most people will want to opt for a fully waterproof shell layer, like Gore-tex, which will protect you from wind and rain for hours, and even help to trap the heat generated by your insulation layer. When deciding how to layer for hiking, individuals who live in drier climates and value lightweight gear may want to consider a water-resistant material like silnylon instead.

When choosing a shell layer, don’t pick something that is too form fitting, as at some point you’ll be wearing both your base layer and your insulation layer beneath it. And try to avoid heavier weight shell layers as much as possible, as that can sometimes result in overheating during a downpour.
Read Next: The Best Rain Jackets for Backpacking
Adapting to Changing Conditions
The more versatile your layering system is, the drier you’ll be, as many hikers and backpackers find that their own body sweat is just as responsible for soaking through their clothing as rain or snow. What layers are right for you will in part depend on your planned activity, expected conditions, and personal core temperature.
It’s also important to ensure your layers reflect the extremes of the area you’ll be traveling through. A shell layer that can keep out the elements, an insulation layer that protects against freezing nighttime temperatures, and a base layer with sufficient wicking ability to keep you dry when you’re working up a sweat. The beauty of figuring out how to layer for hiking is that once you are ready for these extremes, you’ll also be ready for anything in between.
- Freezing mornings (base layer + insulation layer)
- Hot noonday temperatures (base layer)
- High winds in the afternoon (base layer + shell layer)
- Freezing rains and snow right before you set up camp (base layer + insulation layer + shell layer)
Now you have all the clothing you need to get through the extremes, in just three easy layers.
The post How to Layer for Hiking appeared first on Outdoor Life.
Articles may contain affiliate links which enable us to share in the revenue of any purchases made.
||-------------------------------------
By: Laura Lancaster
Title: How to Layer for Hiking
Sourced From: www.outdoorlife.com/gear/how-to-layer-for-hiking/
Published Date: Thu, 02 Feb 2023 17:03:13 +0000
Did you miss our previous article...
https://playeverysport.com/recreational-sports/photo-of-the-day-by-dan-mitler